Table of Contents
What Makes My Cheesecake Shooters No Bake Recipe Unique?
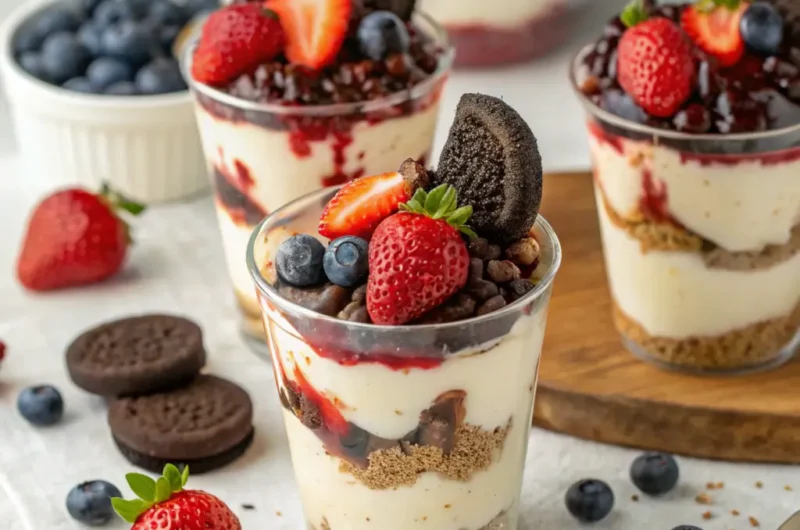
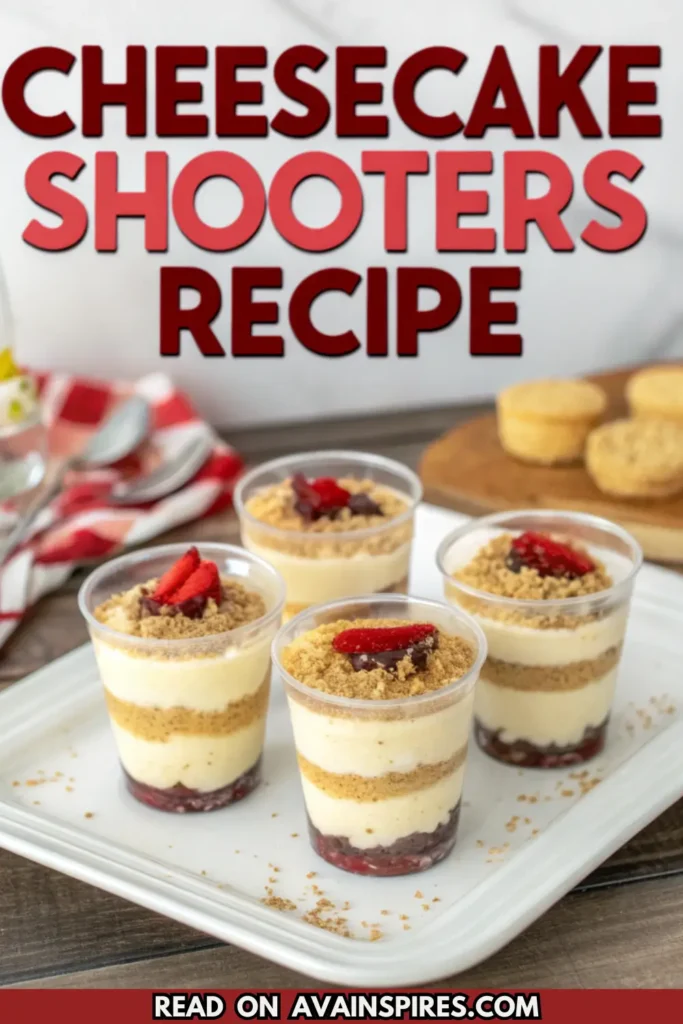
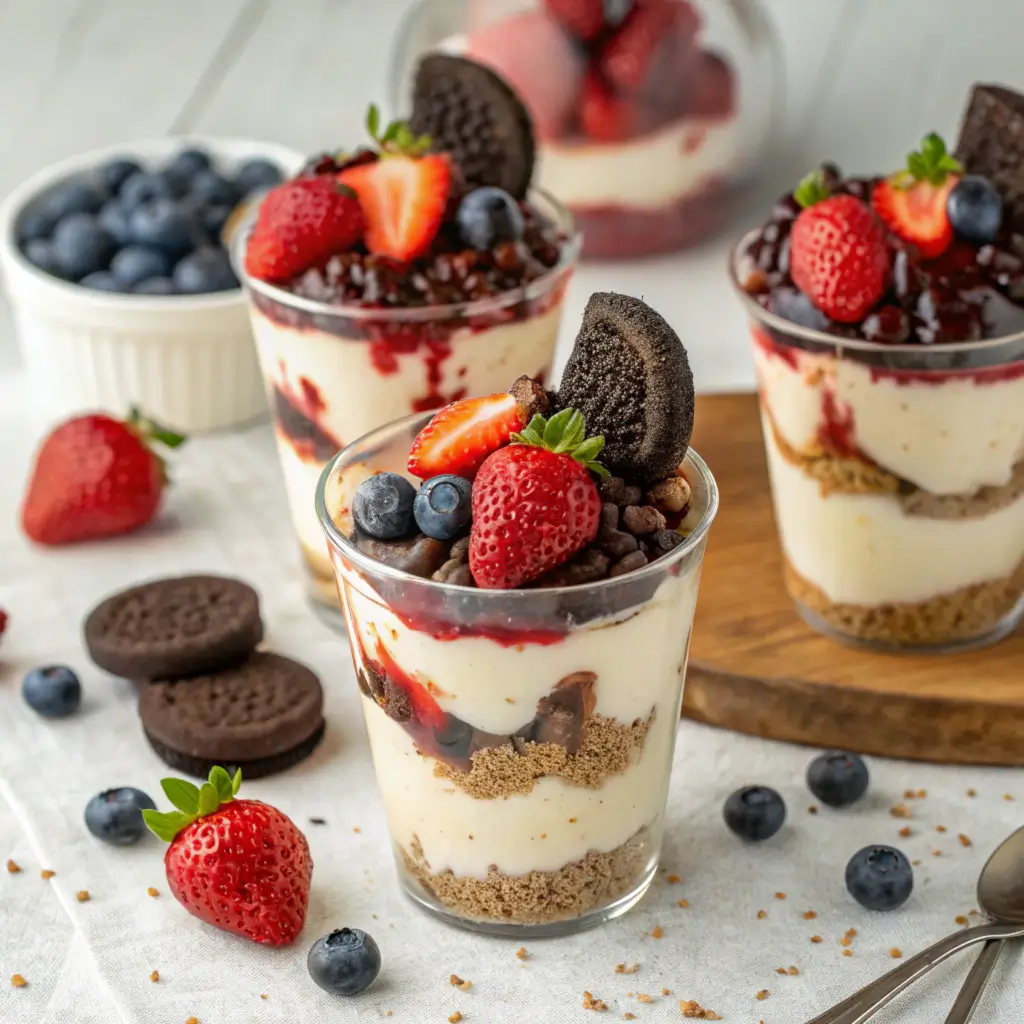
These no-bake cheesecake shooters stand out because of their simplicity and versatility. They layer silky cheesecake mousse, crunchy cookie crumbs, and a luscious topping, creating the perfect bite every time.
Unlike many dessert shooters recipes, I use a touch of lemon zest in the mousse for a refreshing twist and layer it with crushed Oreo cookies for a classic flavor.
Topped with fresh fruit or a drizzle of chocolate, these cheesecake mousse cups are perfect for any occasion, from casual family nights to elegant dinner parties.
Ingredients List for Cheesecake Shooters No Bake Recipe
Here’s what you’ll need to make these delectable DIY dessert cups:
For the Cheesecake Mousse:
- 1 cup cream cheese (softened)
- 1/2 cup powdered sugar
- 1 teaspoon vanilla extract
- 1/2 cup heavy whipping cream (chilled)
- 1 teaspoon lemon zest (optional but recommended)
For the Crust Layer:
- 1 cup Oreo cookies (crushed into crumbs, or substitute with graham crackers)
- 2 tablespoons melted butter
For Toppings:
- Fresh strawberries or blueberries
- Chocolate syrup or caramel drizzle
- Shaved chocolate or crushed nuts (optional)
Additional Supplies:
- Clear mini dessert cups or shot glasses
- Piping bag or zip-top bag for layering
Substitutions and Variations
- Dairy-Free Option: Replace cream cheese and heavy cream with dairy-free alternatives like coconut cream or cashew cream.
- Crust Alternatives: Swap Oreos for graham crackers, digestive biscuits, or even ginger snaps for a holiday twist.
- Flavor Variations: Add cocoa powder to the mousse for a chocolate cheesecake version, or mix in a tablespoon of strawberry jam for a fruity flavor.
- Topping Ideas: Customize the toppings with crushed peppermint for a festive treat, or use mango puree for a tropical vibe.
Cheesecake Shooters No Bake Step-by-Step Cooking Instructions
Step 1: Prepare the Crust
Start by blending crushed Oreo cookies with melted butter in a small bowl. The goal is to achieve a texture that resembles wet sand—crumbly but firm enough to hold together when pressed.
This buttery cookie base will be the foundation of your dessert, adding that irresistible crunch to every bite.
Gently spoon about 1–2 tablespoons of the mixture into the bottom of each mini dessert cup, then use the back of a spoon to press it down evenly, forming a solid crust layer. It’s a simple step, but it sets the stage for the creamy, dreamy layers to come.
Step 2: Make the Cheesecake Mousse
In a large mixing bowl, beat the softened cream cheese and powdered sugar together until the mixture is smooth and fluffy.
This creamy base is what gives the mousse its signature richness. Next, add the vanilla extract and a hint of lemon zest for a refreshing twist that brightens the flavors beautifully. Set this aside and grab another bowl to whip the chilled heavy cream.
Whip it until it forms stiff peaks—this is what will give your mousse its airy, cloud-like texture. Carefully fold the whipped cream into the cream cheese mixture, taking care to be gentle.
The folding process ensures the mousse remains light and luscious, ready to be the star of your dessert.
Step 3: Assemble the Layers
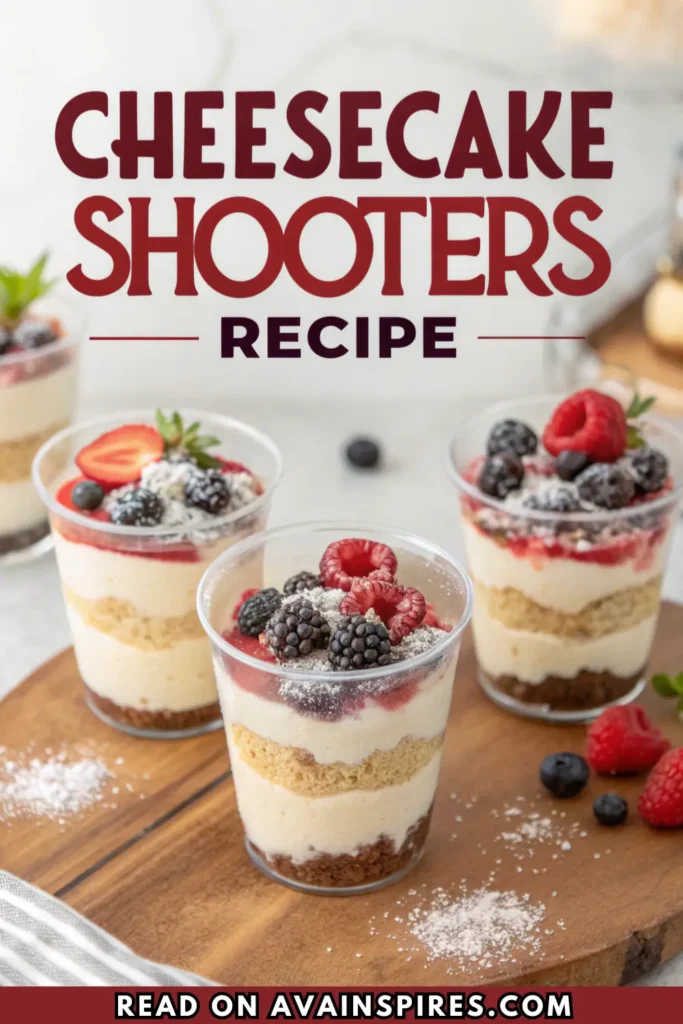
Now comes the fun part—layering! Transfer the silky cheesecake mousse into a piping bag or a zip-top bag with one corner snipped off.
Pipe a generous layer of mousse over the prepared crust in each cup, watching the creamy layers settle beautifully against the clear sides of the dessert cups.
If you want to elevate the presentation, sprinkle another layer of cookie crumbs on top before adding a final swirl of mousse.
This layering process not only looks stunning but ensures a perfect balance of flavors and textures in every spoonful.
Step 4: Add the Toppings
The finishing touches are where your creativity can shine. Top each dessert cup with your choice of garnishes.
Fresh strawberries or blueberries add a pop of color and a juicy sweetness, while a drizzle of chocolate or caramel brings indulgent richness.
Sprinkle crushed nuts, shaved chocolate, or even edible glitter for that extra wow factor. Once topped, place the cups in the refrigerator to chill for at least two hours.
This resting time allows the mousse to firm up and the flavors to meld together, ensuring every bite is as delightful as the last.
Common Mistakes to Avoid While Preparing Cheesecake Shooters
When making cheesecake shooters, there are a few pitfalls to watch out for. Overmixing the mousse is a common mistake—be gentle when folding the whipped cream into the cream cheese mixture.
Too much mixing can deflate the whipped cream, leaving you with a dense, less-than-perfect mousse. Patience is another essential ingredient!
Skipping the chill time might be tempting, but it’s crucial for the mousse to set and the layers to hold their shape. Finally, stick to the recommended amount of butter for the crust.
Adding too much can make it greasy and overly soft, which can compromise the overall texture of your dessert.
Cheesecake Shooters Serving and Presentation Tips
Presentation is where these little desserts truly shine. Serve them in clear dessert cups or shot glasses to show off the beautiful layers of crust, mousse, and toppings—it’s a visual treat that’s just as satisfying as the taste.
Add an elegant flair with a dollop of whipped cream or a sprinkle of edible flowers on top.
If you’re looking for extra charm, tie a small ribbon around each cup or pair them with tiny dessert spoons for an added touch of sophistication.
With these tips, your cheesecake shooters will look as amazing as they taste!
How to Serve Cheesecake Shooters
These cheesecake mousse cups are incredibly versatile. Serve them as part of a dessert buffet at a party, alongside other easy dessert ideas. Pair them with coffee for an elegant after-dinner treat, or include them in a picnic spread for a touch of indulgence on the go.
Extra Recipe Tips for Cheesecake Shooters
- Make Ahead: Prepare the layers a day in advance and assemble just before serving to keep the textures fresh.
- Storage: Store in an airtight container in the refrigerator for up to three days.
- Portion Control: Use smaller cups for a bite-sized treat or larger ones for a more indulgent serving.
FAQs
Can I use store-bought whipped cream?
Yes, but fresh whipped cream gives a better texture and flavor to the mousse.
How can I make these gluten-free?
Simply use gluten-free cookies for the crust.
What’s the best way to crush the cookies?
A food processor works best, but you can also place them in a zip-top bag and crush them with a rolling pin.
Cheesecake Shooters No Bake Recipe
12
servings15
minutes2
hours250
kcalThese no-bake cheesecake shooters are the perfect individual desserts for any occasion. Layered with creamy cheesecake mousse, crunchy cookie crust, and fresh fruit, they’re quick, easy, and sure to impress!
Ingredients
1 cup cream cheese (softened)
1/2 cup powdered sugar
1 teaspoon vanilla extract
1/2 cup heavy whipping cream (chilled)
1 teaspoon lemon zest (optional)
1 cup Oreo cookies (crushed into crumbs, or substitute with graham crackers)
2 tablespoons melted butter
Fresh strawberries or blueberries
Chocolate syrup or caramel drizzle
Shaved chocolate or crushed nuts (optional)
Directions
- Prepare the Crust: Mix the crushed Oreo cookies with melted butter until it resembles wet sand. Spoon 1-2 tablespoons into each mini dessert cup and press down gently to form an even layer.
- Make the Cheesecake Mousse: Beat cream cheese and powdered sugar until smooth. Add vanilla extract and lemon zest (if using). Whip heavy cream until stiff peaks form, then fold it into the cream cheese mixture.
- Assemble the Shooters: Pipe the cheesecake mousse into the cups over the crust. You can add another layer of crushed cookies if desired.
- Add Toppings: Garnish with fresh fruit, a drizzle of chocolate syrup, and a sprinkle of crushed cookies or shaved chocolate.
- Chill: Refrigerate for at least 2 hours before serving.
Notes
- Prepare the layers a day in advance and assemble just before serving.
- Store in an airtight container in the refrigerator for up to 3 days.
- Use gluten-free cookies for a gluten-free option or dairy-free alternatives for a dairy-free version.
Final Thoughts
Cheesecake shooters are the perfect blend of simplicity, elegance, and flavor. Whether you’re a seasoned baker or just looking for easy dessert ideas, this recipe is a winner.
The no-bake process saves time and effort, while the customizable layers let you get creative. Try these cheesecake shooters at your next gathering, and watch them disappear in no time!
